Showing posts with label tutorials. Show all posts

Wednesday, December 5, 2012

DIY: Ceramic Plate Wall Art

Here's another little idea for an inexpensive, DIY gift that you can make for someone special. There are SO many things you can do with this project which is what makes it so much fun! It's one of those quick projects where you can just dump out everything in your craft arsenal and make it work! (Thank you Tim Gunn)

Supplies:
1. ceramic plate (you can find these at any craft or hobby store)
2. rub-ons or clear back stickers
3. ribbon
4. scissors
5. popsicle stick or bone folder
6. measuring tape
7. plastic gems

Step 1:
Measure the diameter of the flat portion of your plate to determine your useable area.

Step 2:
Choose your favorite rub-ons to use and peel the backing off. Hold it up to your plate to get an idea of how your design will look.

Step 3:
Cut out your design to cut down the excess material, then use your popsicle stick to firmly rub over the design to adhere it to the face of your plate. Carefully peel back the plastic.
Step 4:
Use ribbon to trim your plate or use as a hanger. I also decided to add some gems to mine to make it look like the dandelion is being blown away!
Misc Tips:
*Non-cardstock stickers work best like the flexible ones with clear backings.
*Get creative and decorate your plate with washi tape! It's cheap and repositionable!
*If you don't want to hang your plate on a wall, you can lay it on your dressing table and use it as a trinket dish for earrings!

I hope you liked this tutorial! When I hung mine up in our hallway, I got more than the obligatory "Good job, babe!" from Ian, so that's saying something!
<3
E

Guest Post: Tori's Peanut Butter & Chocolate Candy Recipe

Hi everyone! I'm Victoria (aka Tori) you've probably heard Elaine mention me before. She's my best friend and I'm so excited she asked me to guest post for her Merry and Bright blog partaaaay! So lets get to it! This recipe is super yummy, super easy and super quick because it doesn't even require using the stove - just a microwave. It's a great addition to your holiday party spread or makes a special handmade gift to give to anyone.

What you'll need:
1 package of almond bark (usually 1 lb.)
1/2 cup semi-sweet chocolate chips
1/2 extra crunchy peanut-butter


Place almond bark in a medium microwave-safe bowl. Stirring frequently, microwave until almond bark melts (about three minutes.) Be careful because the bowl can get a little hot.


Stir peanut-butter into melted almond bark until completely mixed.


In another microwave-safe bowl melt the chocolate chips the same way as the almond bark. However, the chocolate chips don't take as long to melt, and will over cook and get hard quickly so keep a close watch!

Thinly spread peanut-butter mixture out on a large greased/buttered baking sheet. I promise there is enough mixture to cover the bottom of the baking sheet. Dollop the melted chocolate over the peanut-butter mixture and with a small spatula or butter knife, swirl chocolate evenly throughout.


Pop that baking sheet into the refrigerator and allow to chill for a couple of hours until the candy hardens. Then break into smaller pieces. The candy won't melt at room temperature so it's okay to set out for parties. Store in an airtight container in a cool place or even in the refrigerator. I think you could even add extra chopped peanuts if you'd like an even crunchier candy or try using peppermint bark swirled with the chocolate! Yum!


To give as a gift, I picked up some clear cellophane bags from the baking isle at my local craft store. I made tags with kraft paper and washi tape, and tied them on with some gold-flecked, red ric-rac.


And that's it! I told you it was super simple and I hope you enjoy the recipe! Merry Christmas and Happy Holidays! xo

***********************

Side note: Tori is going to be re-launching her blog starting the beginning of January 2013, so I'll be sure to link you up when the re-launch happens! She's going to have lots of inspiring things happening and you'll want to be in on it! :)

DIY: Tissue Confetti Ornaments

Oh how I love all the magnificent things you can do with tissue paper! These ornaments practically came to me in a dream after I saw some delicious ones from West Elm. Afterward, I couldn't get them out of my head! So here I am with a tutorial so you can make your own tissue confetti ornaments!
Supplies:
1. Glitter paper
2. colored tissue paper
3. double-sided tape or glue stick
4. raw kraft ornaments
5. scissors
6. Sharpie or pen

Step 1:
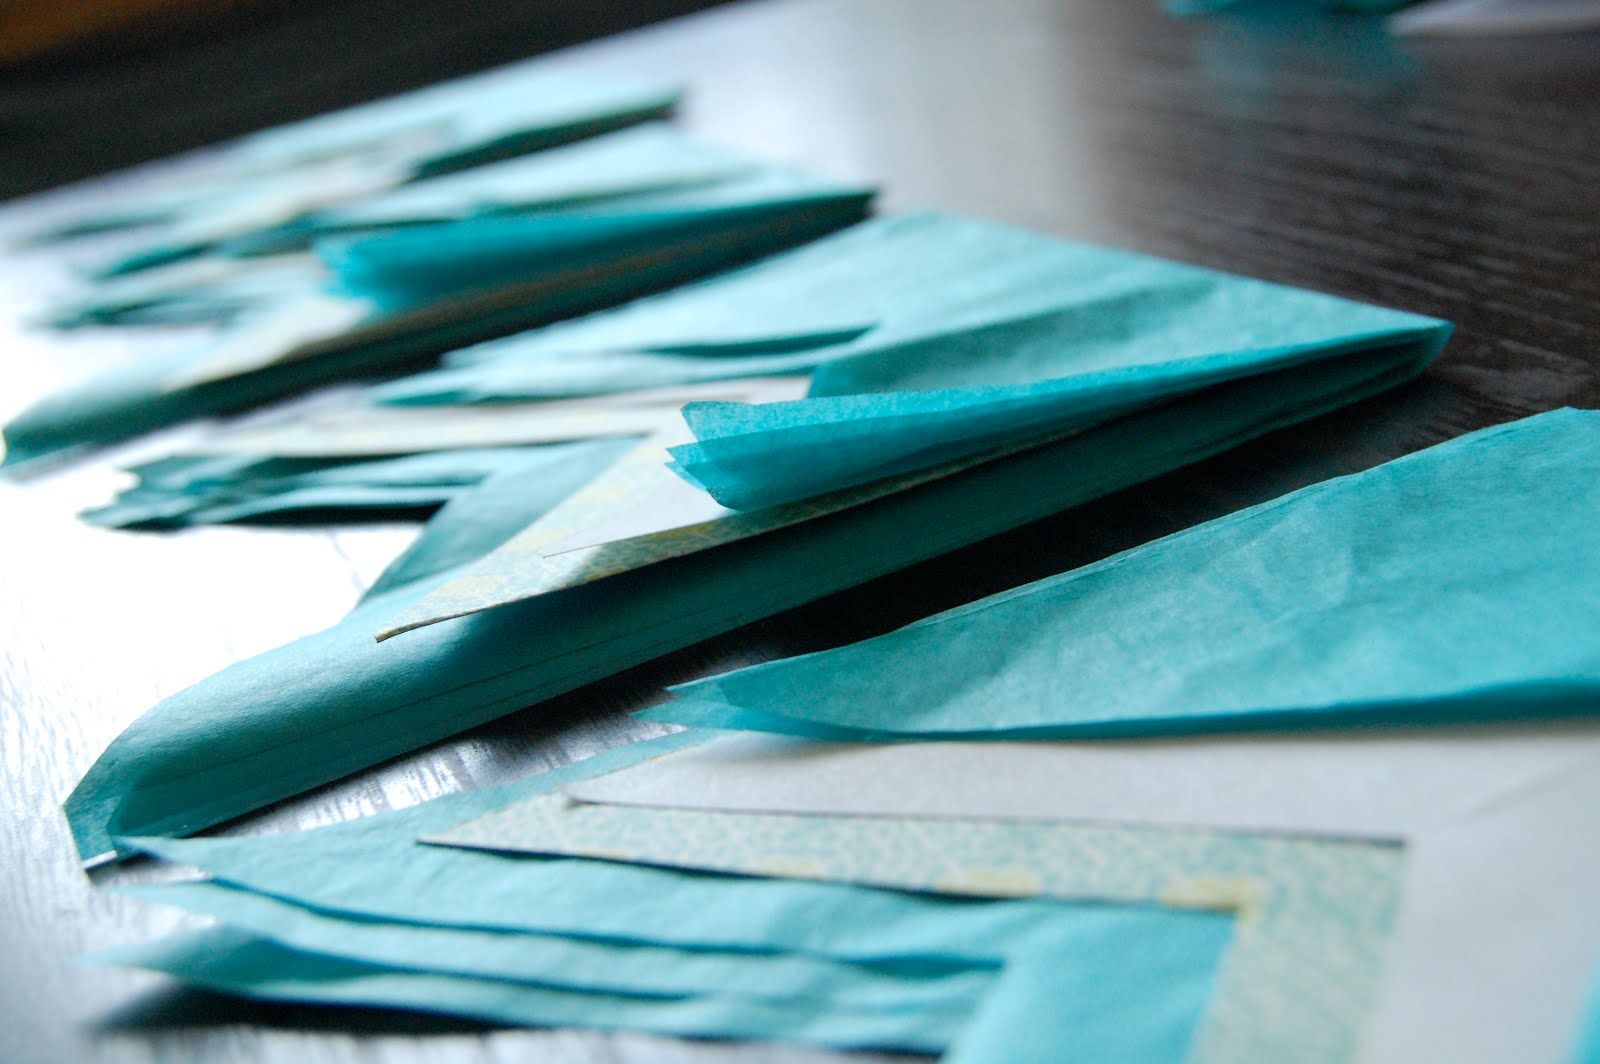
Cut a bunch of 1 inch strips of tissue paper of each color to use for your fringe. Trim the length of each strip down to be slightly longer than the width of your ornament.

Step 2:
Fold a strip in half length-wise and start snipping to create fringe.

Step 3:
Start at the bottom of your ornament and work upward. Tape or glue across the area to stick your first strip. (Full disclosure: I found that glue stick works best for this step because it's quicker, cheaper, stickier, and much stickier!)

Place your fringed strip across the adhesive area with a slight overhang on each side.

Step 4:
Slightly above the first strip, tape or glue again. Adhere another color of tissue to overlap the previous.

Repeat steps 3-4 until your entire ornament is covered.

Step 5:
Use your scissors to trim the excess tissue around the perimeter of your ornament.

Step 6:
Use glitter paper to create a monogram. Map out the letter on the backside using a marker and then cut them out.

Step 7:
Adhere your monogram to the center of your ornament using tape or glue.

You can use these ornaments all year round and for so many different things! Hang them on your Christmas tree, a doorknob, bedpost, or make a big one for your front door!
Also, you can always use tacky glue and loose glitter if you don't have access to glitter paper. It requires more steps, but the effect is the same!
I love the way these look. They're very on trend and there are so many different color combinations I'd love to try out!

Have fun with this and go crazy! These holiday ornaments sparkle and shine enough to make the season bright!
<3
E


Wednesday, October 31, 2012

Vintage Matchbook Re-Style

A few years ago, I was at a flea market that had little grab bags of vintage matchbooks and I couldn't pass them up. They were all so colorful and graphic that they just seemed perfect for some sort of project. I never knew what my plan for them was, but I figured it would come to me someday. Well recently, I came across the matchbooks again and the sight of them sparked an idea! I knew I had to frame them somehow and display them on the wall of our new apartment.
I got a square display frame at Hobby Lobby for 50% off and used a piece of subtle print scrapbook paper for the backing. Then it was just a matter of measuring out distances between each matchbook to make it symmetrical. (That took some time and I hate math. lol)
The project came together nicely and it's just waiting for me to decide where to hang it! Possibly in the hallway or far wall of the kitchen. Who knows. :) Ian LOVED the outcome too and was impressed at the impact those little pieces of cardboard made!
This project was SO easy to do, relatively inexpensive, and a great way to display vintage art and little pieces of history in your home. You could do this with literally anything you found at a flea market or antique mall and have a real conversation piece in your home!

<3
E

Thursday, August 16, 2012

Brights and Bolds


News news news! Ian and I moved! We moved apartments across town and it has been one HECTIC 2 weeks! We really weren't planning on moving, but we WERE apartment hunting. Then we toured a complex one day, and everything just seemed right so we applied and were accepted! The place is fabulous and we gained 300 sq. feet! (Considering our old apartment was only 443 sq. feet, 300 seems like an entire second apartment worth of space! haha)

So needless to say, I'm going to have a lot of home decor posts coming and lots of little DIYs along the way! First up is an old lamp that I gave a new life this week!

We needed a lamp for our dark hallway, and since cash is low, we rummaged around at my parents' house and found this white one from my childhood bedroom:


Plain, very old, slightly stained shade= BORING!

So I got a few cheap supplies from the craft store, sat down with Season 5 of FRIENDS, heated up the glue gun, and got to work! I was going to wrap the shade in ribbon, but decided not to actually wrap it because it would take twice as much ribbon. So I cut the ribbon into uniform strips, hot glued the top right inside the rim of the shade, then glued the bottom. I overlapped the ribbon strips to give it a pleated look and I love the way it turned out!


I chose a really graphic ribbon print and paired it with a silhouette iron-on decal I found at Hobby Lobby. Then I wrapped a little bit of velvet ribbon around the base of the lamp to tie in the black. Poof! Completely new lamp!


The apartment is going to look amazing once I get done creating everything, decorating, and making the apartment spiffy! I'll of course share pics when everything is done and little snippets here and there!
<3
E

Saturday, May 12, 2012

DIY: Tissue Fringe Pennants

The mirror over my vanity has been looking a little sad, so I decided to make a little garland-type decoration to spruce it up! I really love the look of Mexican tissue paper art, so I came up with this tissue paper fringe pennant design and it turned out just like i pictured it! Here's a tutorial so you can make your own!
Supplies:
*paper trimmer
*tissue paper
*scrapbooking paper
*chipboard
*scissors
*stapler
*yarn
*tacky glue
*glitter
*optional: charms

  Step 1:
Smooth out your tissue paper pack and fold it in half long-ways. Use the trimmer to cut 4.5" sections for your pennants. I cut 2 sections, then separated the layers to 3 or 4 layers each to create 5 sections for my garland. Trim the bottom part (the loose ends opposite the fold) to 5".

  Step 2:
You can do 2 types of garland: chevron (with the point in the middle) or pennant (with the points on the outside). I chose to do the pennants, but either one would be gorgeous.
Make the cuts to the bottom of the section (the side with the loose ends), then open it up, and refold it higher on the section. (shown above)

  Step 3:
Add in more layers of different papers to create color contrast.

Step 4:
Start cutting tiny vertical strips of fringe in 1 inch cuts. I cut the tissue layers at once, then cut the papers each separately so all your fringe doesn't end up looking the same.

  Step 5:
Next, cut strips 1" x 4.5" of chipboard to place inside the pennants so that they will hold their shape once the garland is on the wall. Otherwise, the tissue will bend and crumple.

  Step 6:
Open up the layers of your pennants and run your yarn through each one stringing them together. Make sure to leave enough yarn on each end of the garland so you can tie it up!

Step 7:
Staple the top edge of each pennant under the yarn making sure to get all the layers of paper in your staples.

  Step 8:
Take some tacky glue and coat a thin layer over the staples and across the pennants. Pour glitter over the glue area and let sit. Shake off all the glitter and it's ready to hang! After you hang your pennants, you have the option to add any charms or tassels to your garland to give it some added flair! I used these glitter keys my Nana got me to hang on the edges of the garland!
I hope you loved the tutorial. It's been so much fun using my vanity now that I look up and see some colorful tissue garland staring back at me! It just adds fun and style to my makeup area! Have a wonderful evening and weekend everyone!
<3
E