

Some of us are still living at home. Heck, some of us are still in COLLEGE! We all battle small spaces in some way or another. Maybe you share a room with your younger sister or the living room in your apartment is SUPER cramped. Or in MY case, you're living at your in-law's house and struggling to make an entire apartment out of one room. This can be challenging but very fun! We're also near broke, so we're trying to completely redecorate the Davis Suite on very little money.
This week I created the "lounge" area of our suite, so I thought I'd share how I created our fashionable but space concious coffee table for under $10.
Supplies:
*a sturdy base
*odds and ends from around your home
*about $10
Step 1:

Find something to use for the base of your table. Some army crates would be awesome for a rustic feel, a short table, or any sturdy piece of furniture of the same size. Flat surface is good for having drinks on it, but be creative! I started with a basic blue trunk. Ian had it when he was little and it now stores our DVD collection. Anything that can double as storage is always a bonus!
Step 2:

Add some sort of patterned or brightly colored cover. This is good especially if you don't want water rings or things spilled on your piece of furniture. It's also just cute! I got these colored bamboo-like place mats at Wal-Mart for $1.00 each. It took 2 to cover the trunk I got and it just creates a cute patterned and equally hard surface for your coffee table.
Step 3:
Choose some cute but functional odds and ends for your table...something that your rooms NEEDS. For Ian and I, we needed a place for each of us to store our random essential items when we come home from work.

I bought these adorable little summer plastic dishes on sale at Wal-Mart for .75 each. I got them to match the scheme in our room: orange for me, green for him. The bowls are used on our coffee table and I put one of the cups on each of our dresses for the same sort of use.

Step 4:
Add some fresh color! I prefer fresh flowers, but replacing them every week can add up to be expensive. Instead, find some inexpensive but real-looking artificial blooms that you adore!

The ones I used are 2 stems from Wal-Mart for $2.00 each. I got poppies and some cute white filler. For the vase, I didn't want to buy one, so I borrowed the glass from our unused French Press for the time being. Creative and untraditional pieces make your design unexpected and fresh.
Step 5:
Finish off with some personal items that reflect who you are!

I added a framed 4x7 of Ian and I along with a pineapple scented candle. We're CONSTANTLY burning candles in the suite. Smells so good. Also the remote for good measure. :)
If you aren't really thrilled by this particular design, you can of course tailor it however you like! Here are a few other ways you could do it that I came up with:
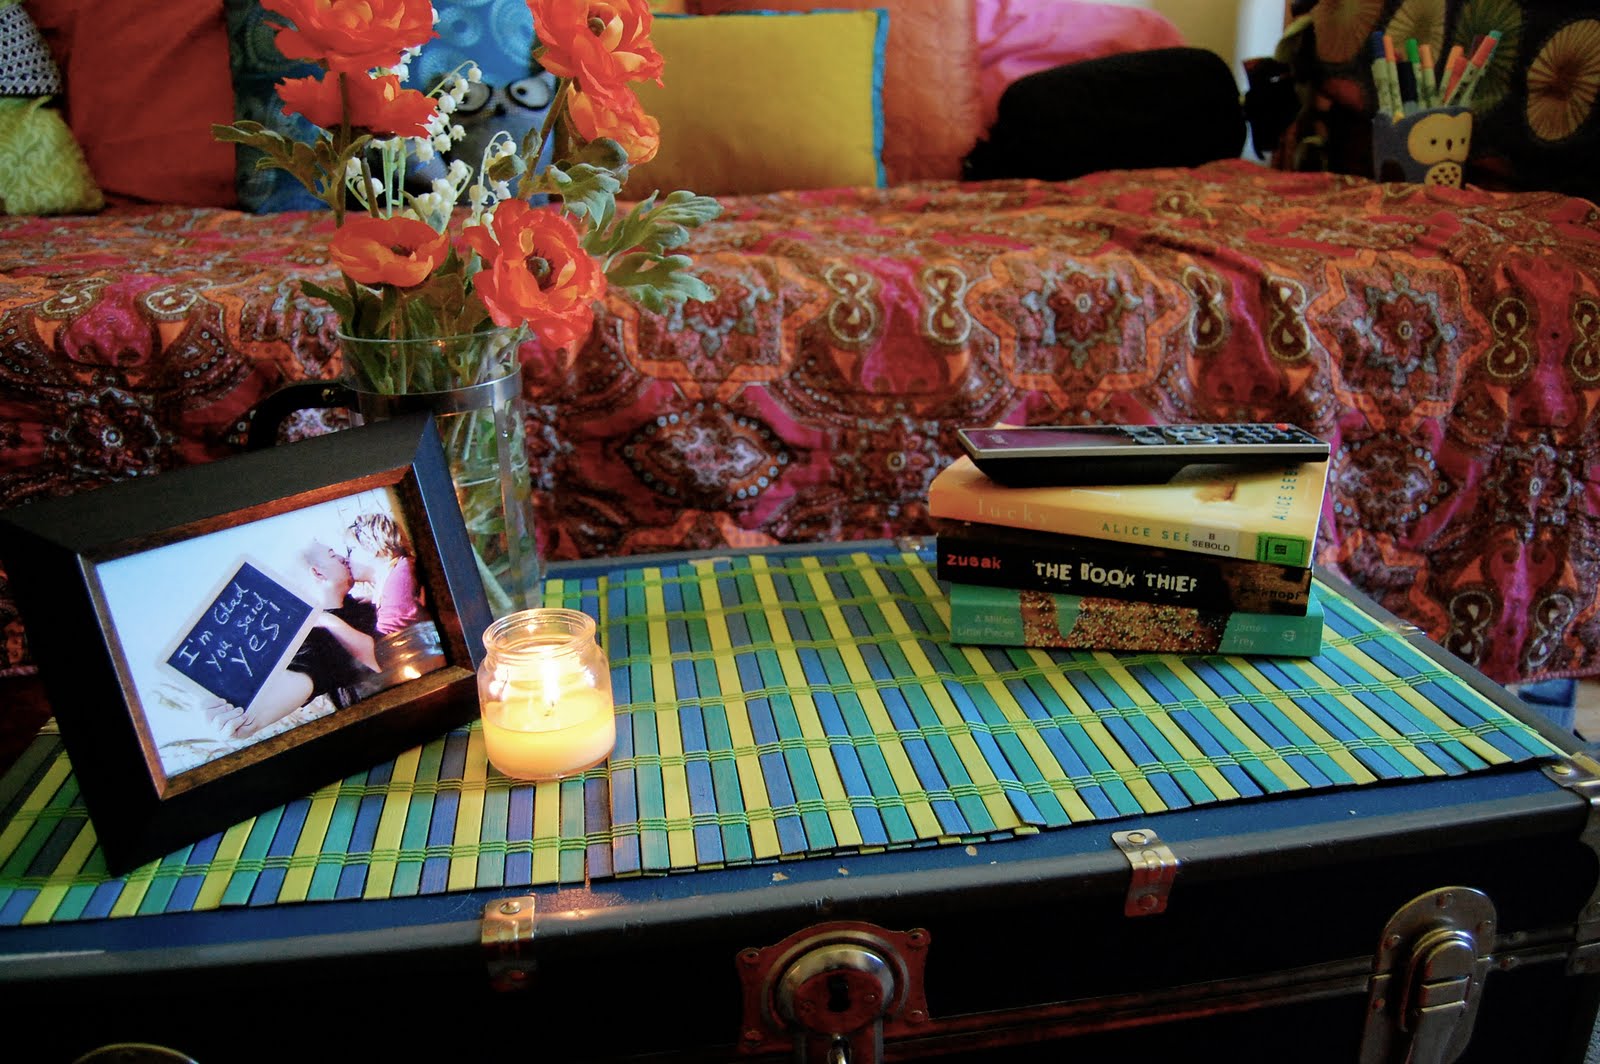
This idea just includes a cute stack of coordinating books instead of the personal bowls. A classic favorite. Adding a more classy frame upscales the look as well.

If it's just you in the room and you're not battling the fine line between a shared space and femininity, try a shallow bowl or tray with something pretty and girly like your cocktail ring collection, a cute bowl of small yarn balls, or using another craft collection as a centerpiece. A bowl of Hershey's kisses would speak to the male in the room too, though. haha

This is something I want to do in my future house. I want to feature a big black sketchbook and jar of pens on my coffee table for guests to doodle in when they visit. It's also a cute thing to do for your kids as well! Creativity is always knocking!
Here's some extra outside inspiration for coffee tables. Maybe something will spark your attention!


So all in all, I spent $9.00 on this piece of decor in our suite: $2.00 for the place mats, $3.00 for the dishes, and $4.00 on the artificial stems. I hope you can find some awesome bargains and make it even cheaper and cuter!
More peeks of our tiny home coming soon!
<3
E
No comments:
Post a Comment